Log into console
- Navigate to Oracle base database service
- locate the relevant Instance.
- Select Console Connection
- Create Console Connetion-generate keys.
- Copy the SSH String.
Open cloud Shell
- Create the private key within cloud shell.
- Paste the SSH String and Connect.
- Reboot the dbaas Instance
- From Cloud Shell you will see the server booting.
- When the robot Starts you will see a boot manager menu. Highlight The Top boot option and press e
- In edit mode, use the down arrow key to scroll down through the entries until you reach the line that starts with the following value, depending on the version of Linux:
For instances running Oracle Autonomous Linux 8.x, Oracle Autonomous Linux 7.x, Oracle Linux 8.x, and Oracle Linux 7.x, scroll down until you reach the line that starts with linuxefi.
For instances running Oracle Linux Cloud Developer 8.x, scroll down until you reach the line that starts with linux.
- At the end of the line add the following: init=/bin/bash
- reboot the instance by using the keyboard Shortcut CTRL+X wait for the Instance to boot into Bash
- Enter /usr/sbin/load_policy -i
- Enter the following: /bin/mount -o remount, rw /
- Make changes to the configuration files as needed…
- To complete the recovery enter exec /usr/lib/systemd/systemd
Conclusion
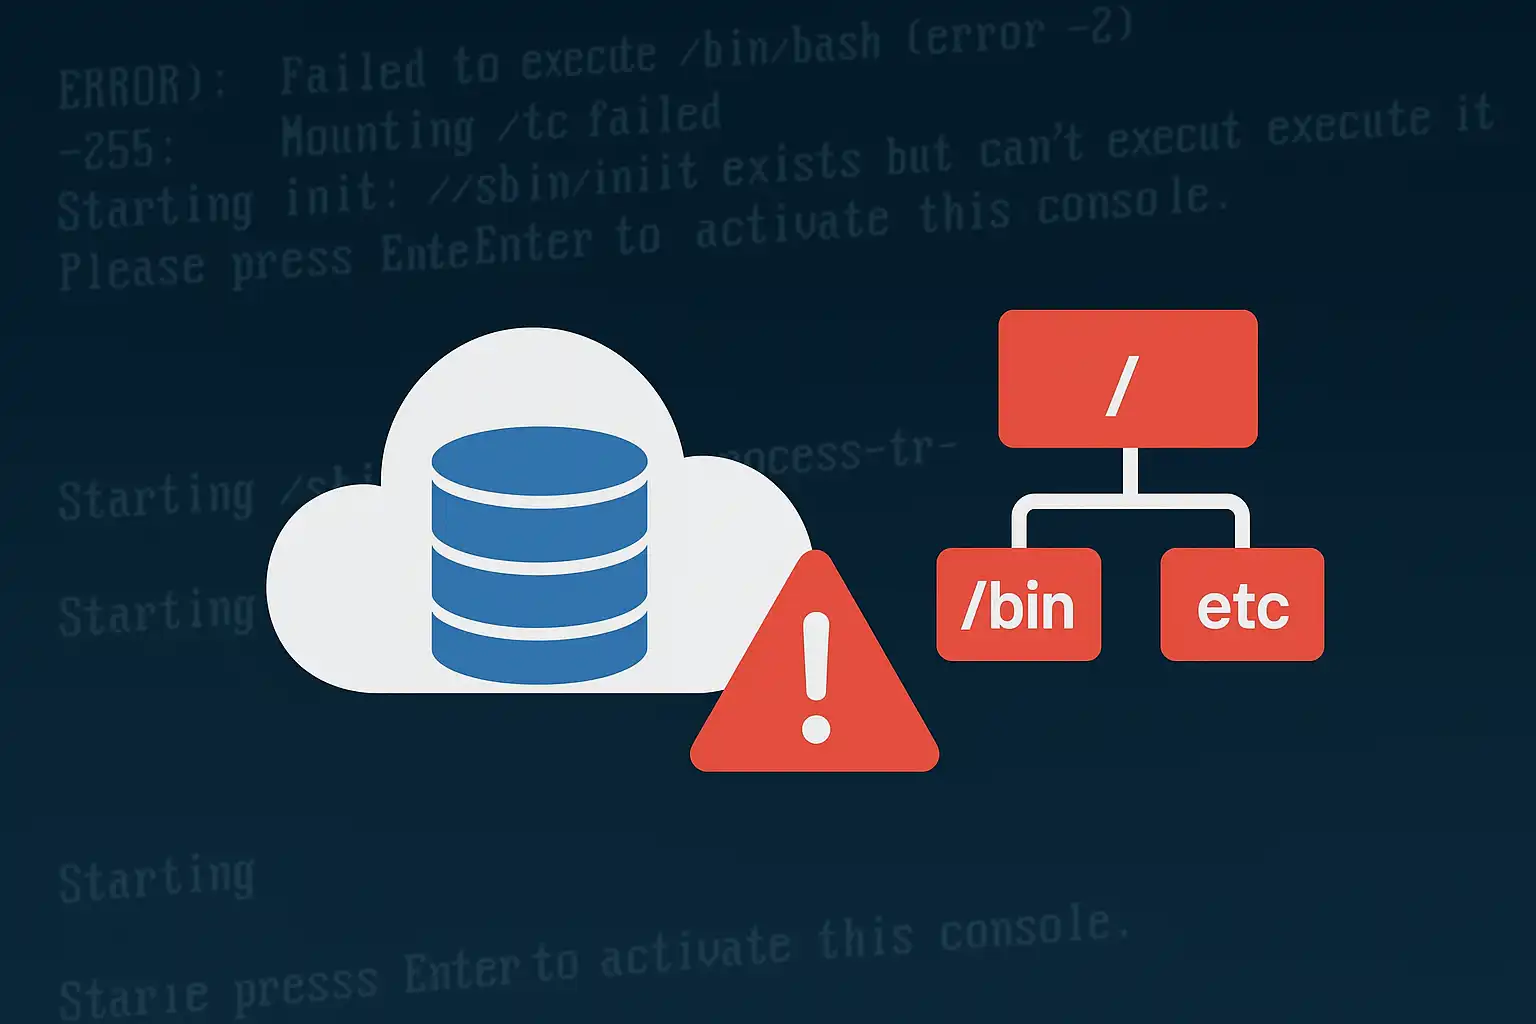
Bringing a DBaaS instance back from root filesystem corruption is straightforward once you know the steps. Console access, single-user mode, and a few basic file edits are usually all that’s needed to get the system running again without resorting to a full rebuild. It’s not something you’ll need often, but when your instance locks you out and standard access fails, this method offers a simple, reliable way to get control back without overcomplicating the recovery process.
Contact us today to arrange an assessment or email:

Jason Beattie
Senior Architect and Cloud Operations Manager